

Location
Making the panel right
As you know, polypanel digesters are made of a sandwich: polysty is the meat in the middle: it insulates the contents of the digester. The 'bread' on the outside of the sandwich is inexpensive wood on either side to enable the polysty to resist the force of water pressure. The boards that end up outside the digester have screws that pass through the polysty and find ‘purchase’ in the inside wood, tying the polypanel sandwich strongly together.
The problem with making such a sandwich is that all of the parts must be positioned correctly relative to each other so that the screws put into the outside wood will bite into inside wood, and so that when the panel sandwich is finished, it will fit together with the other panels. To insure the positioning is correct, we make extensive use of jigs, which hold things together temporarily (assisted by ratchet straps) until the screws have been put in. (Because the jigs were designed and built some time ago, you might notice that the corner jigs look “weathered”, whereas the wood used to make the panel is new.)
You can click on any of the pictures to see a larger image:
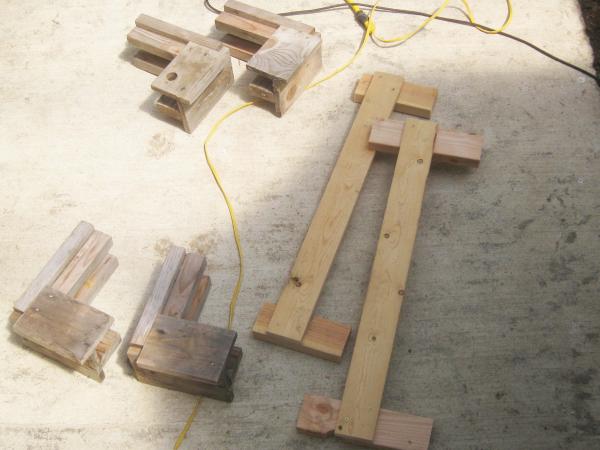
The jig parts which are used to make the panel right consist of four corner jigs to position the polysty and the wood supports relative to each other, and two 'spacer' jigs, to position the horizontal outside support boards at the proper height on the panel.
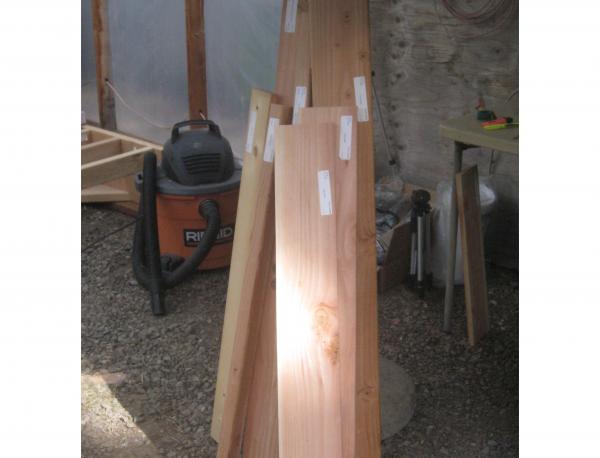
In this initial manufacture of the panel right, only four boards are put on the panel. This image shows the four boards, and several others, which we will put on in future steps.

After all the parts are made, start by approximately positioning the corner jigs.

Then put the inside support assembly in the middle of the corner jigs. (Although when taking these pictures I did not, you should place the four horizontal and vertical ratchet straps at this point in the build.)

Place the panel right polysty on top of the inside support assembly. Be sure it is positioned in the same orientation (up/down) as the inside support wood, and with the correct side (outside) showing. You can see the “patches” (orange circles) put into the holes that I put in the wrong place when manufacturing the polysty for this panel.

Get a rubber mallet or some similar tool to use to get the corner jigs as close as possible to the polysty.

Use the rubber mallet or similar tool to snug the corner jigs “into” the polysty. That will force the polysty to rest in the proper position above the inside support assembly.

The four corner jigs are shown correctly placed.

Now place the two vertical 1x6 boards for the outside support wood on top of the polysty.

Place the horizontal support boards on top of the polysty, and lay down the two “spacer” jigs which will insure that the horizontal boards are at the correct vertical level.

Get the ratchet straps ready. That will require reaching under the inside support assembly to put the ratchet straps under them. (This should have been done first, actually, at the same time or before putting down the inside support assembly.)

Put the ratchets on the straps and tighten them just enough to hold everything together. Again check to make sure that the corner jigs are as close as they can be (both horizontally and vertically) to the polysty, and use the rubber mallet if that is not the case.

For any screws that you intend to put through the outside support boards, through the polysty and into the inside support assembly, we recommend having two drills: one with a bit to make a hole for the screw, and the other with a torx bit to put the torx screw into the wood.

Those screws must bite into the outside support wood. If the screw goes down and contacts the outside support wood, but then is not pulled into that board, then the far end of the screw did not penetrate the inside support assembly. Find out what is wrong and fix it. Did you position the screw properly?

Once all the screws have been put in (three for either of the horizontal support boards; four for either of the vertical support boards), you can remove the ratchet straps.

Likewise, remove the corner jigs and the top spacer jigs.

Your panel should look like it looks in the drawings.

You have finished making the panel right. Congratulations!