

Location
Installing the panel left
To install the panel left on the base, I decided once again to try something new in order to gain further experience, and extend the knowledge we all have to work with.
The difference between this panel install and that for the panel right is that whereas I was using sprayable urethane foam to seal the panel’s bottom edge to the base poly, for the panel left I wanted to try something else. I returned to my notes about experiments with materials and caulks, and I found, somewhat to my surprise (I had forgotten), that I rated “Locktite: PL Premium” higher than urethane foam for both adhesion and quality of its cure when cementing polysty to polysty. For these two reasons, to install this panel, I decided to use PL Premium.
I would note, however, that urethane foam has a virtue which none of the caulks have: it expands on application, and for making things water-tght, and especially gas-tight, it’s hard to beat an adhesive material that expands.… The take-home on that is that if you want to use caulk, you need to insure that the two panels being welded together are being very firmly held together. Otherwise: leaks.
Regardless, I used basically the same process: put on some stuff, spread it thin on both surfaces, then goop it up and put on the panel. Like this:
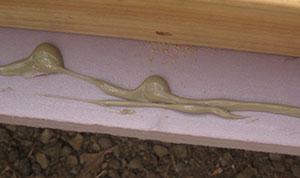
Goop some caulk on both surfaces.
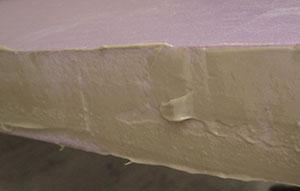
Spread it smooth. Then (not shown) put on quite a bit more and postion the panel in its place.

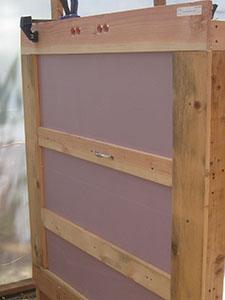
These panels are generally lightweight (~30 lbs), but they are 4 feet wide— hard to gracefully position. Because the panel left is awkward for one person to handle I put on a... handle.
Then, as mentioned, put on the panel.
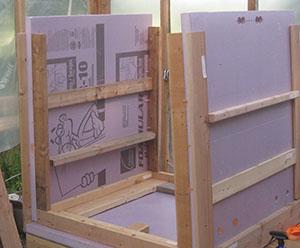
In place!